
Garden Projects
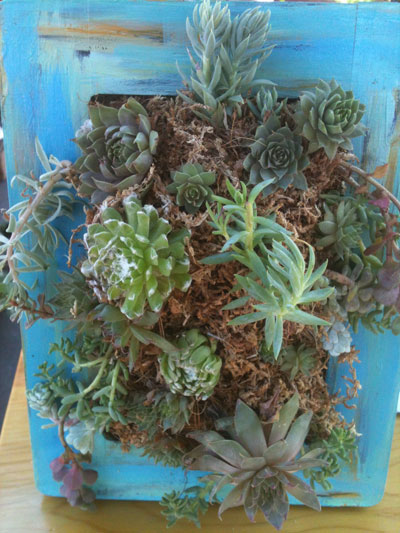
Living Art- Succulent Frame
Create a fun living art piece quickly and easily!
This project uses a purchased, unfinished wood frame with a depth of 1/2". First, the frame was painted with outdoor acrylic paint and finished with a water-based, satin-finish varnish. Once the varnish was dry, a small piece of coco liner material was glued to the inside of the front of the frame with water proof construction adhesive.
After the glue was dry, the coco liner covered area was filled with a high quality succulent potting mix (we make our own) until it expanded outward in a pillow-like fashion and the back of the frame attached.
To plant the frame, moisten the potting mix by lightly spraying the entire frame while it is laying flat on its back. Using a small implement (I use a bamboo twig) create small holes in the coco liner and insert lightly rooted succulents by gently working the roots (or stems if there are no roots) into the moistened potting mix with the bamboo twig (or pencil, or other implement) Using soaked sphagnum moss, pack the hole to ensure good contact between the plant and the soil. For heavy succulents, use a small piece of wire bent into a hairpin shape to help hold them in place.
When your art piece is complete, water the plants in well and allow to sit in a partially shaded area for up to three weeks while the plants form roots. Water regularly, but allow the soil mix to nearly dry out before watering again. Once rooted, your frame can stand on a table, like this one, or hang on a wall. Just remember to water once the soil dries out. If your succulents grow too long for your taste, they can be trimmed and each piece saved and rooted for another project. Like the one below!
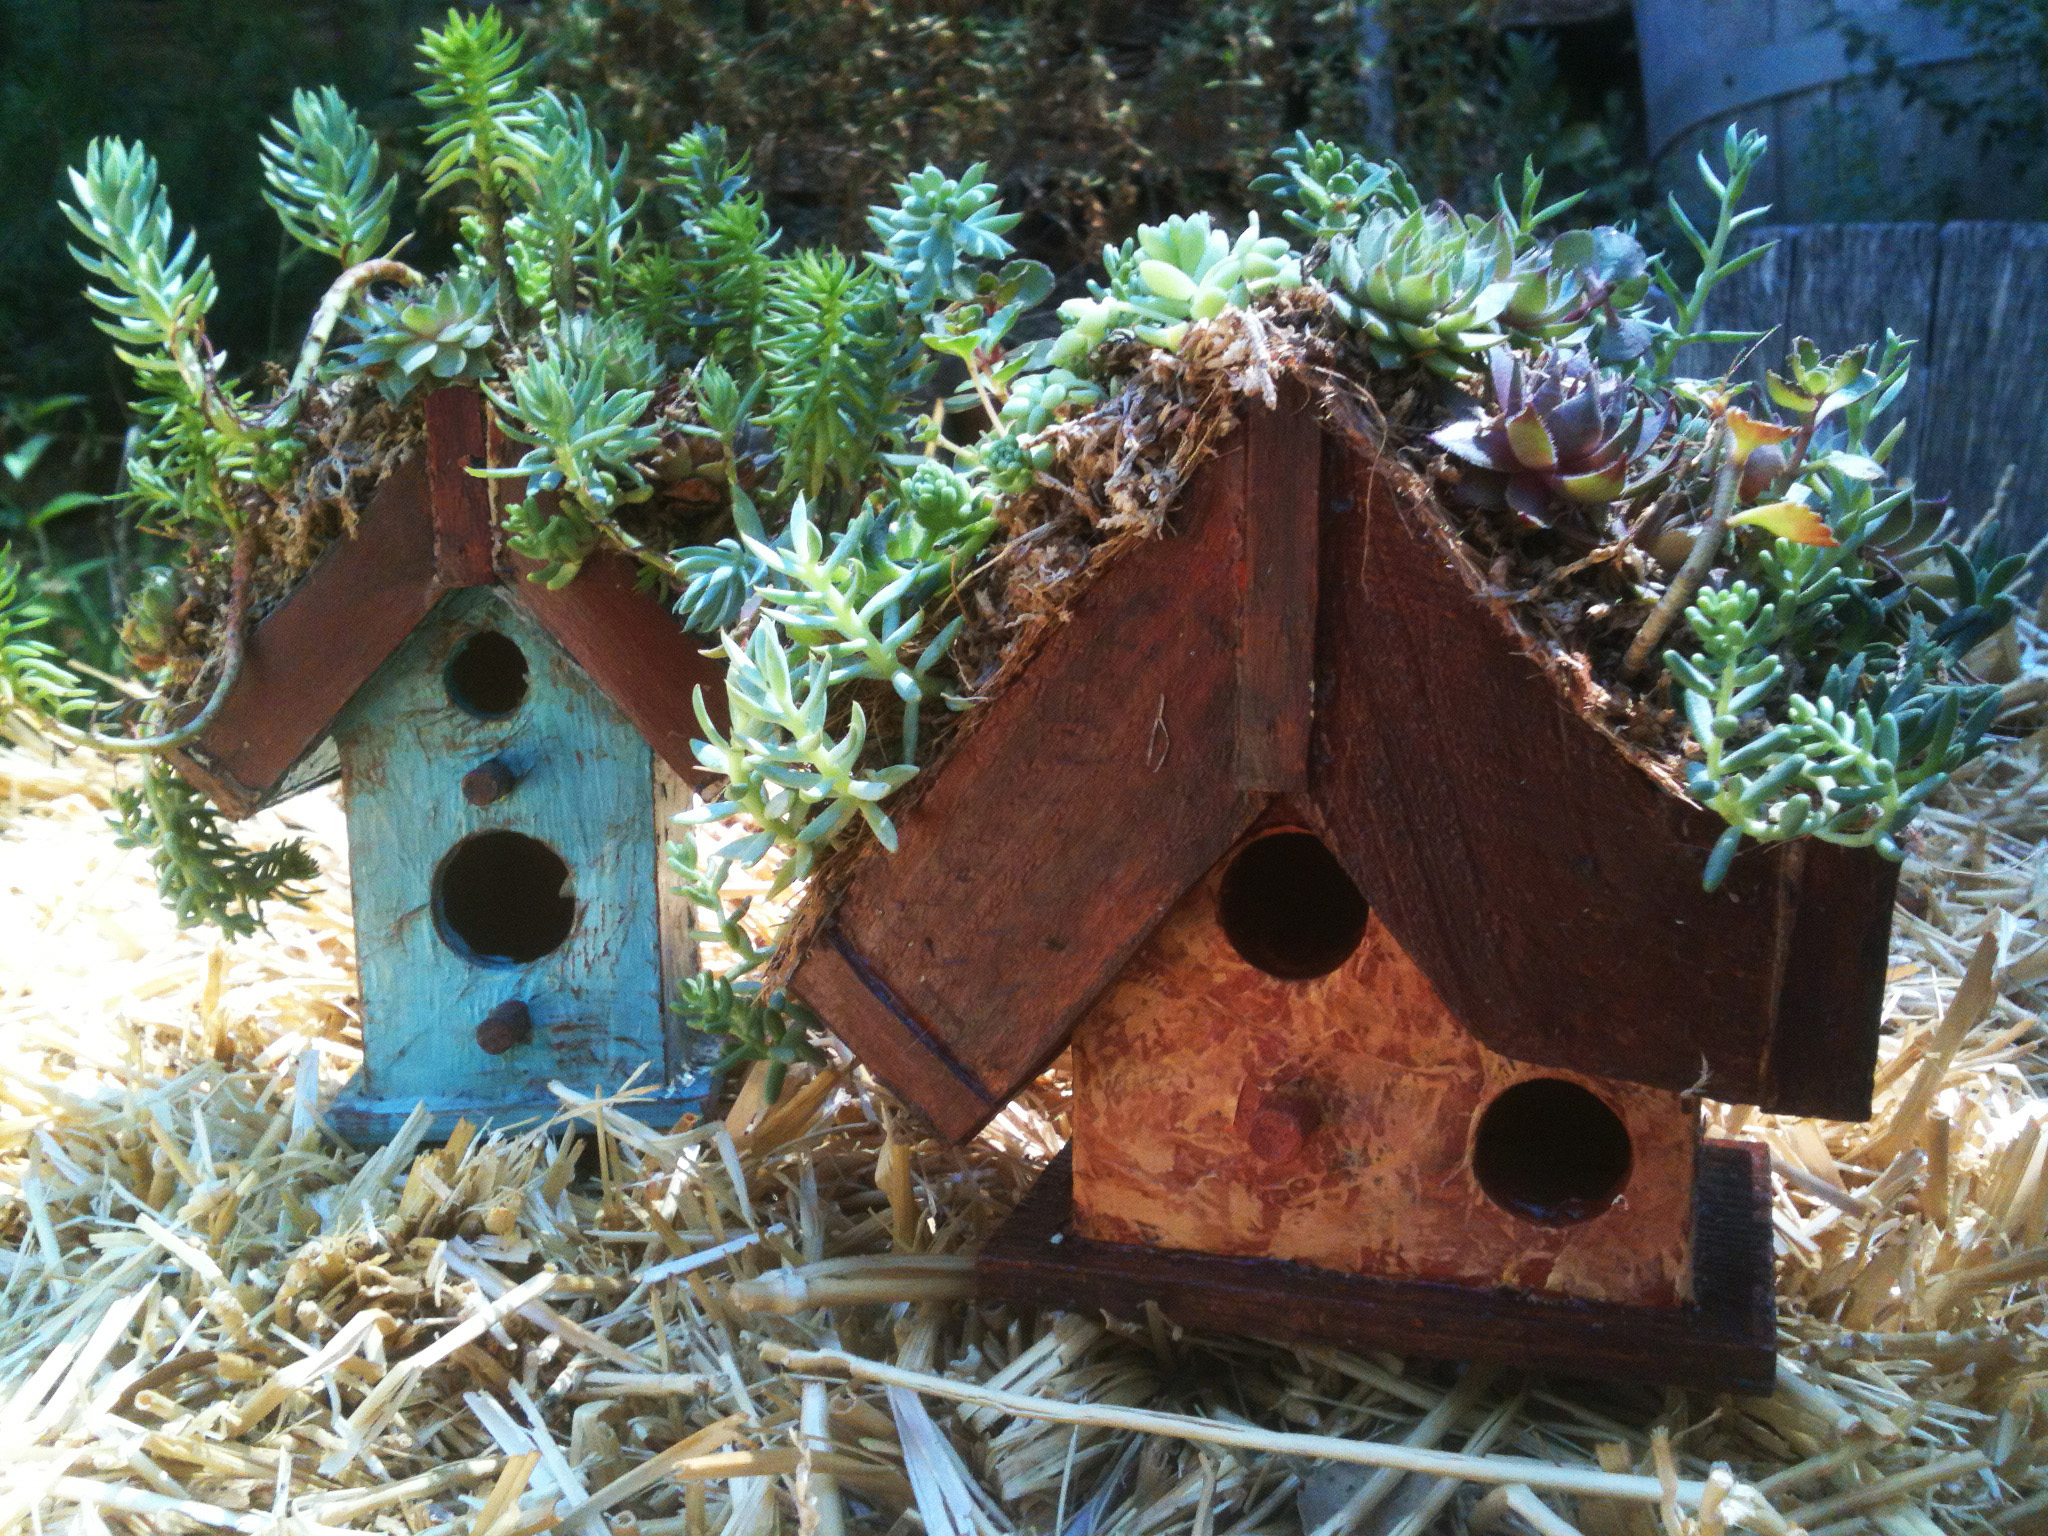
Living Roof Birdhouse
These adorable birhouses are a delight!
A more complex project than the above, if you use a purchased birdhouse, you will have to rebuild the roof to allow space for soil. Also, remember that purchased birdhouses are not always rated for outdoor use and do not use water resistant adhesives. Look for ones that are for best results.
Using water resistant construction adhesive, glue cut to fit sections of 2"x1/4" trim board to build up the roof.Small "trim" pieces may be added at the corners to reinforce the seams. These birdhouses are finished first with a decopage-style stucco using crumpled tissue paper and thinned wood glue, then with outdoor paint, and finally with water-based varnish. Be sure to finish the inside of the roof area, the exposed wood of the cut "entrance", and the bottom of the birdhouse to help prevent swelling of the wood.
Cut a piece of coco liner material to fit the top of the new roof. Fill the roof with dampened (not wet!) succulent potting mix, packing it in tightly. Dry the edges of the roof and glue the coco liner to the edge with the construction adhesive. Trim if necessary. Once the glue has dried, you're ready to plant! Using the technique described above, gently work succulent stems or roots into the potting mix and pack around them firmly with moistened sphagnum moss. Water lightly and allow to root.
Remember to let the soil dry out before watering again!
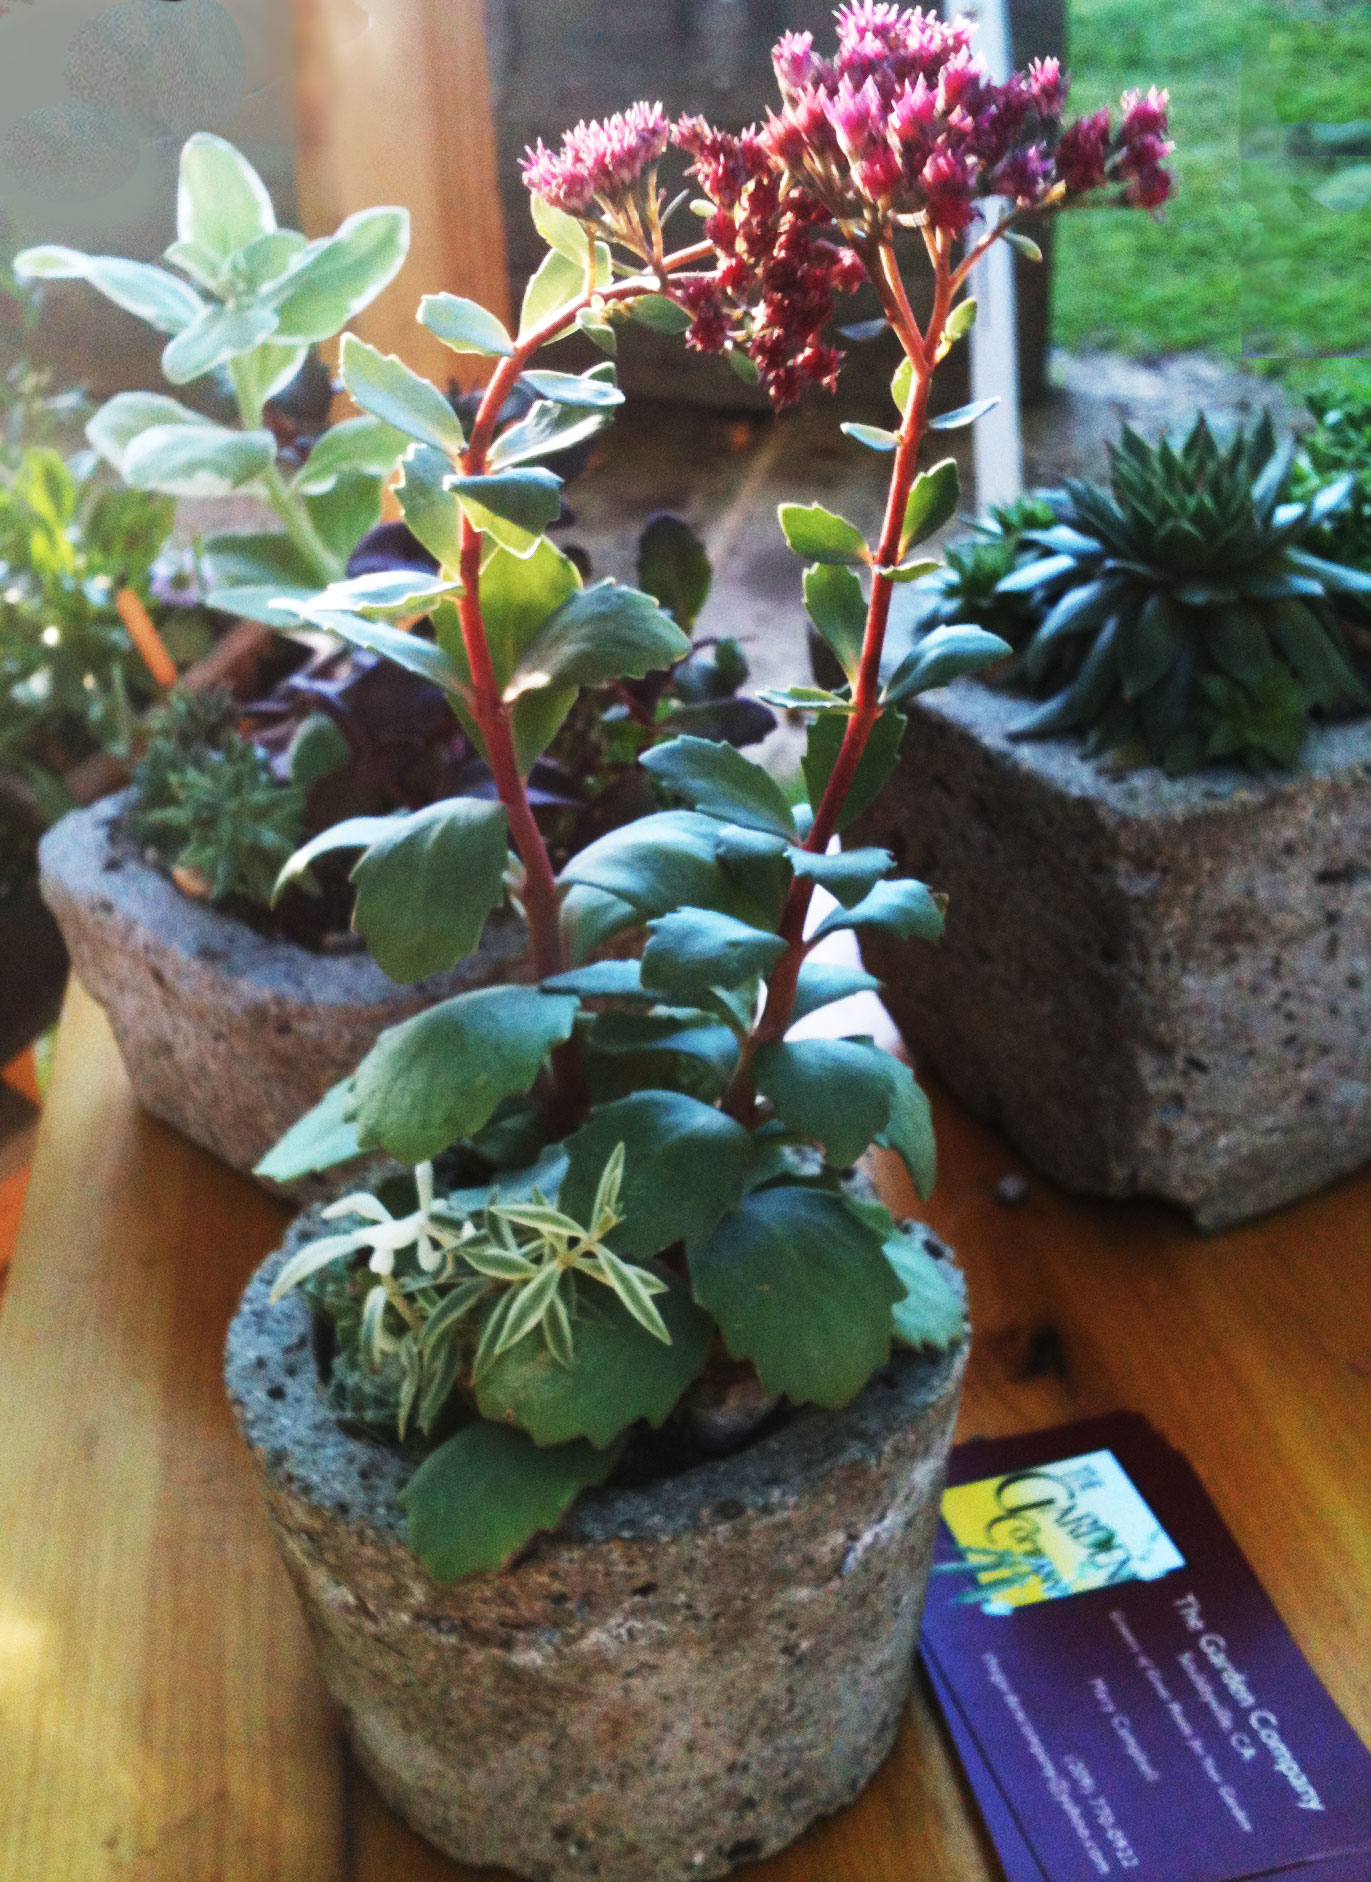
Hypertufa Planters
Recycle throw-aways to make simple planters!
These planters are make from throw-away plastic food containers, milk cartons, ice cream cartons, and virtually anything that has a shape you like. It's easy enough for kids, but be sure to give them gloves to wear.
Gather small containers. You will need 2 for each planter; one that fits inside the other with at least a half inch gap. They don't have to be the same shape. This is one case where you can have a round peg in a square hole! 1/2-1" thick(depending on desired finished thickness of the planter) slices of cork will space the two containers on the bottom and supply a drainage hole. Have them ready, too.
In a bucket or wheelbarrow mix:
1 part portland cement
1 part peat moss
1 part vermicullite or perlite
enough water to make a thick, oatmeal-like paste.
Mix well, ensuring that there are no dry spots. Work quickly, filling the larger container about 1/3 full with the cement mixture into and smearing it up the insides. Push the slice of cork (use more than one for larger planters) into the mix so it is touching the bottom. Next push the smaller container into the cement in the larger container and so that it touches the cork. You may need a weight in the inner container to hold it down. Smooth the edges as desired.
Place the curing planters in a cool spot in a plastic bag and allow to stand for several days. The slower the cure, the less likely they are to crack later.
Once the hypertufa has cured, remove the molds and pop out the cork spacers. They can be refined further, if desired, smoothing edges, rounding corners, defining the drainage hole, and the like by gently carving at the surface, but this process is easiest before they have hardened completely.
Before planting, soak planters in a 1:10 solution of vinegar and water and rinse.
Get creative and try adding colors or even embedding objects in your hypertufa planters! Just like making mud pies!